Auto Nadir Fix
This guide explains how to quickly remove the tripod area (nadir) from your 360 images using Panoee’s automatic AI-powered nadir fix.
What is Nadir?
In 360 photography, the nadir is the bottom part of the image (looking straight down).
This area often shows:
-
Tripod
-
Camera stand
-
Unwanted shadows or holes
Because cameras cannot capture this area properly, it usually appears distorted or broken in virtual tours.
Traditional solutions (not recommended)
-
Manual Photoshop editing → time-consuming and requires skill
-
Logo patch (circle overlay) → quick but looks unnatural
-
Manual stitching fixes → complex and inconsistent
Panoee solves this with automatic AI nadir fixing, saving time and improving visual quality.
Video Tutorial
Steps
-
Open your project in Tour Editor
Go to your project and enter the Tour Editor. -
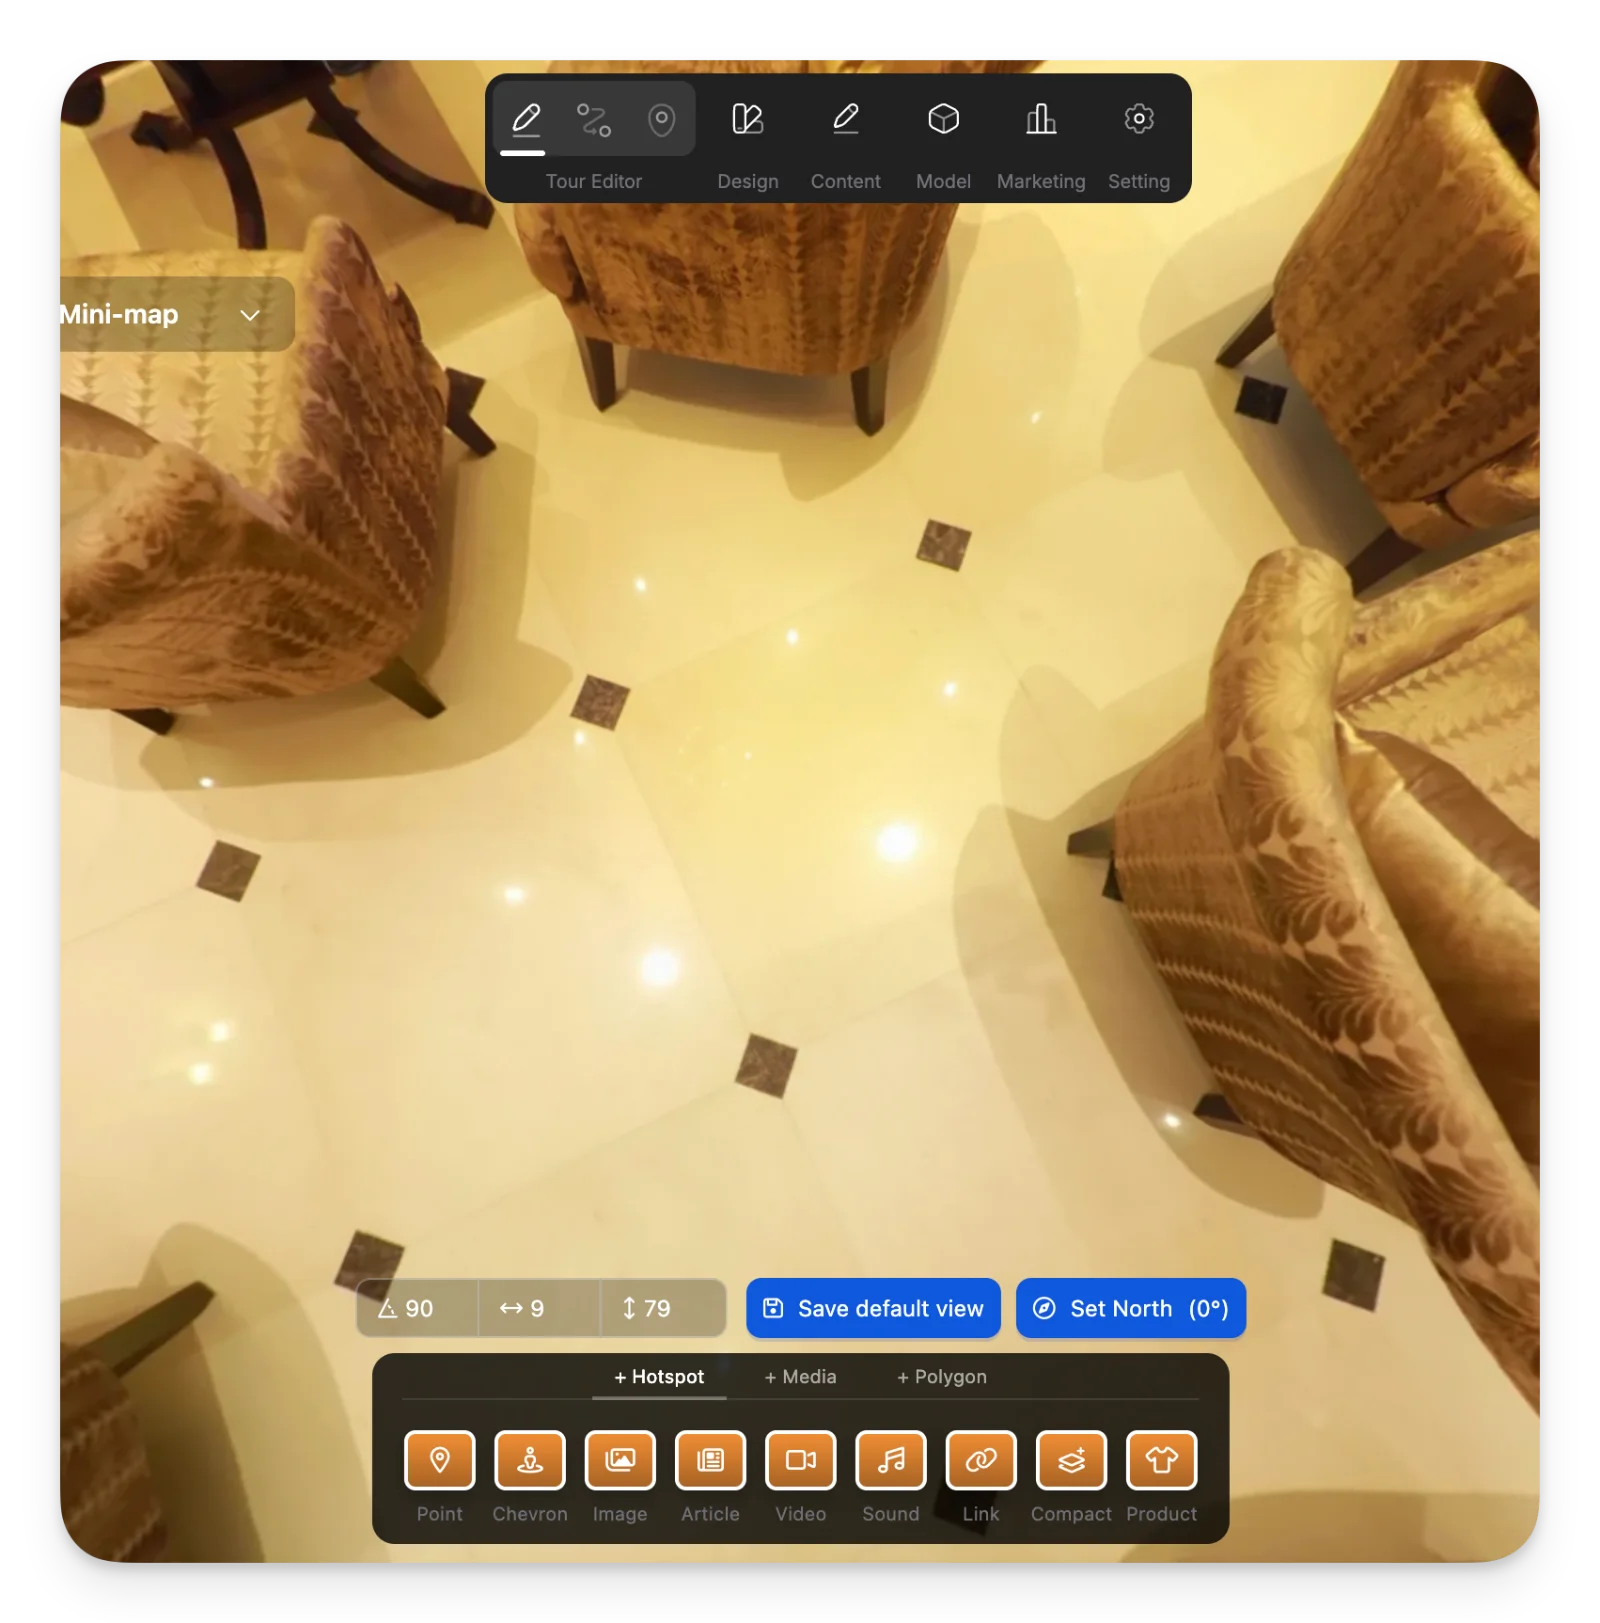
Select a scene with nadir issue
Choose a scene where the tripod or broken area is visible at the bottom. -
Click “Quick Fix” in Nadir section
In the right panel, find the Nadir section and click Quick Fix.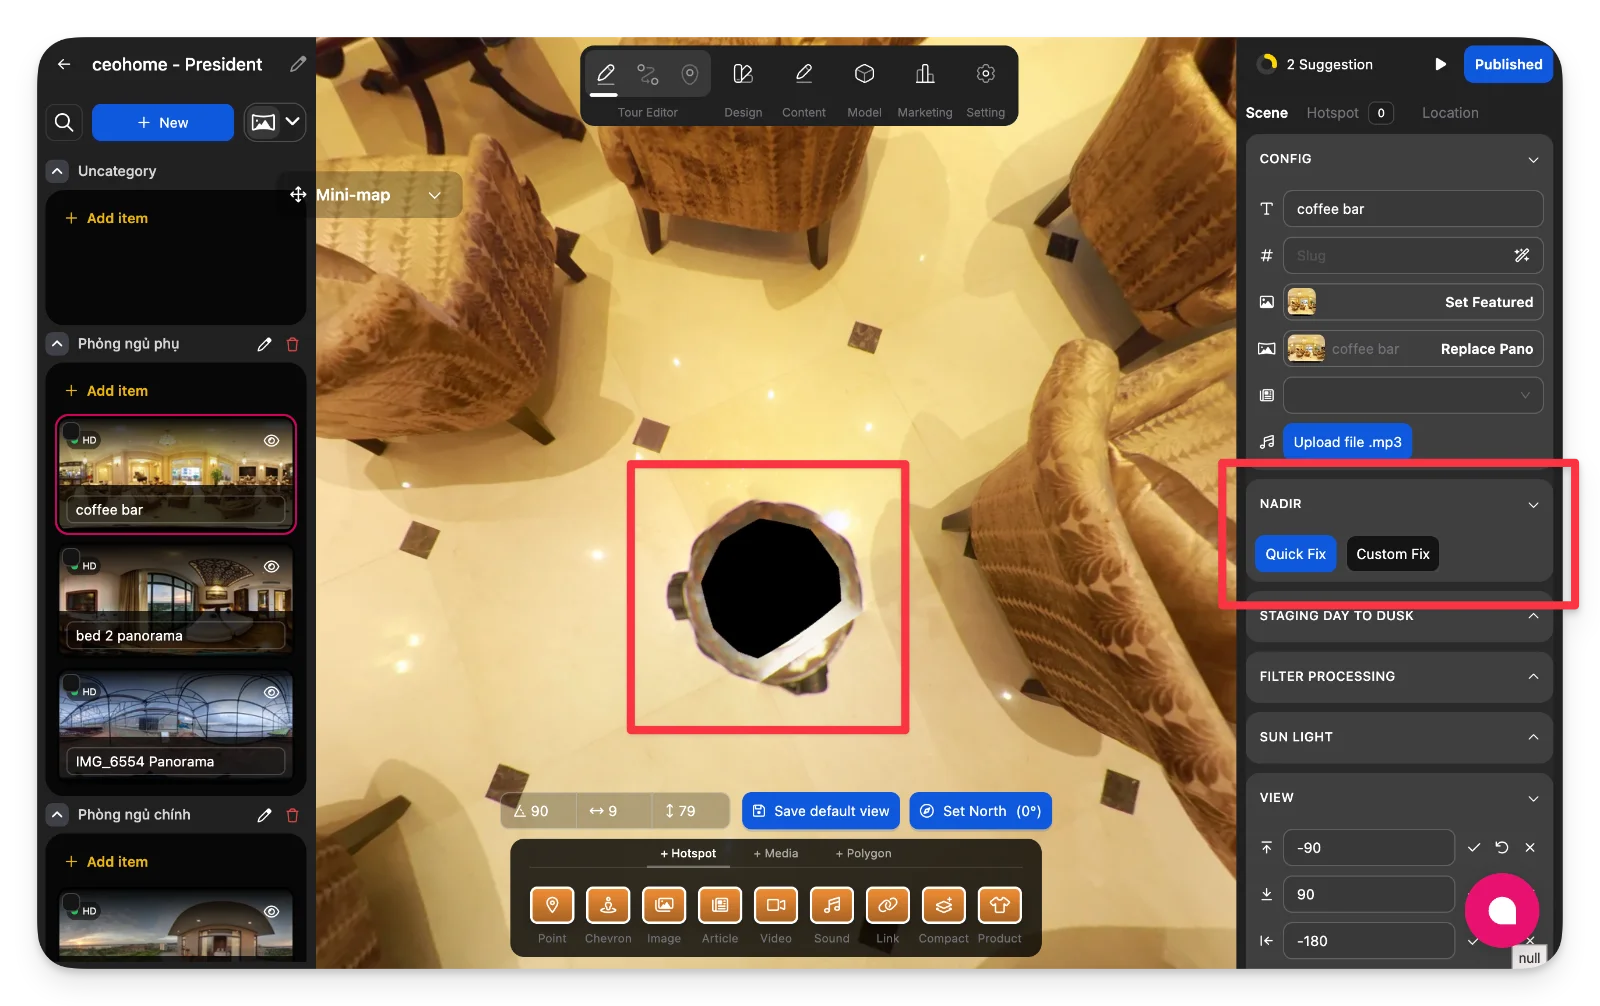
-
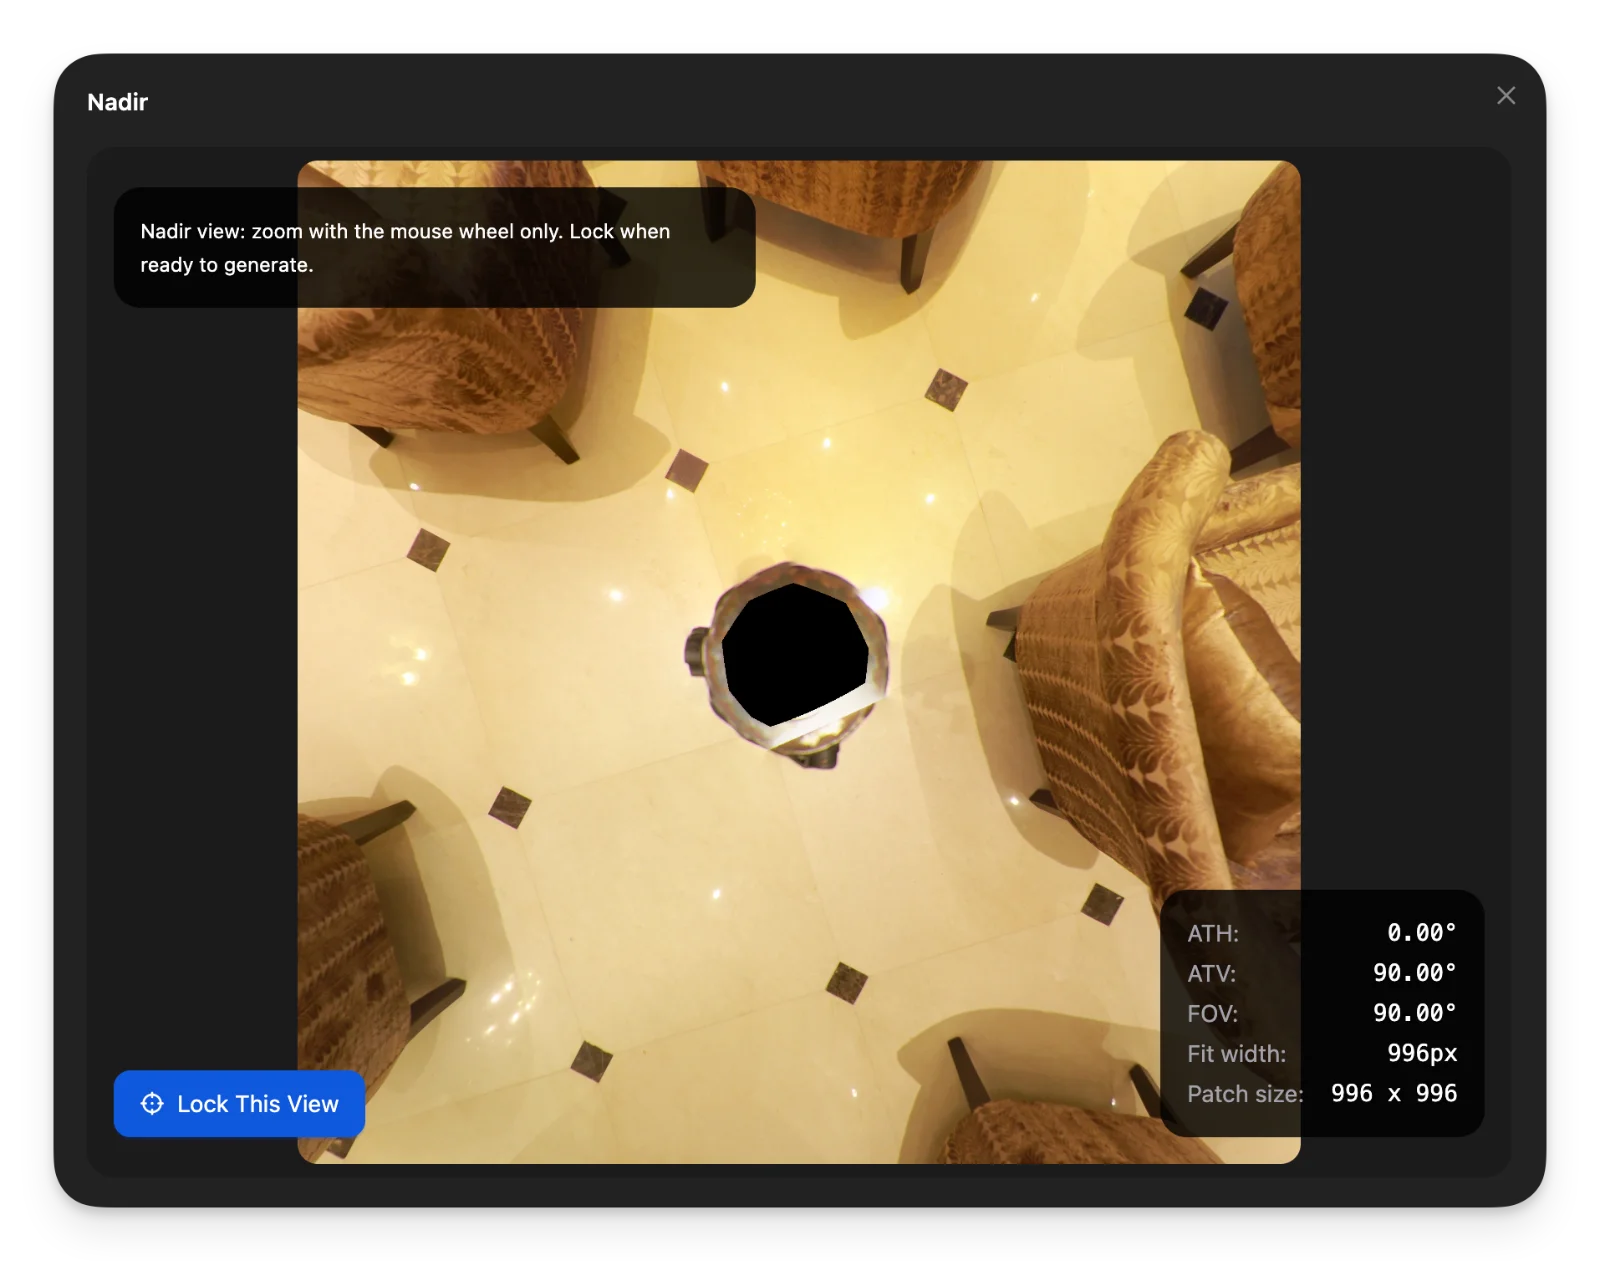
Wait for automatic processing
The system will:-
Detect the nadir area (typically at ~90° downward view)
-
Use AI to remove the tripod and fill the area naturally
-
Apply the result automatically to your scene
Processing time is about 5–10 seconds.
-
Optional: Use Custom Fix
If the automatic detection is not perfect, you can use Custom Fix:
-
Manually adjust the nadir area
-
Control the size (larger or smaller patch)
-
Better for complex environments
Notes
-
No manual editing is required—just click Quick Fix.
-
Works best with standard 360 images (2:1 ratio).
-
Results are applied directly to the scene.
-
You can re-run the fix if needed.
-
This feature replaces the need for Photoshop or manual nadir patching.