Set Initial Scene in Panoee
Learn how to set the initial (default) scene for your Panoee virtual tour project.
Set Initial Scene
The initial scene is the first thing viewers see when they open your Panoee virtual tour. This guide explains how to choose which scene appears by default.
Steps
-
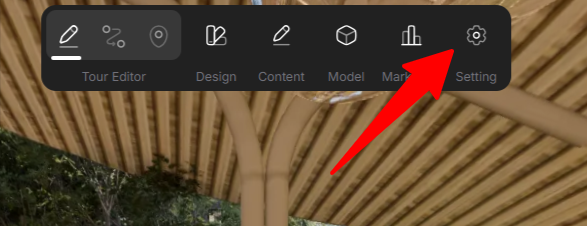
Open Project Settings — From your project dashboard, navigate to Settings.
-
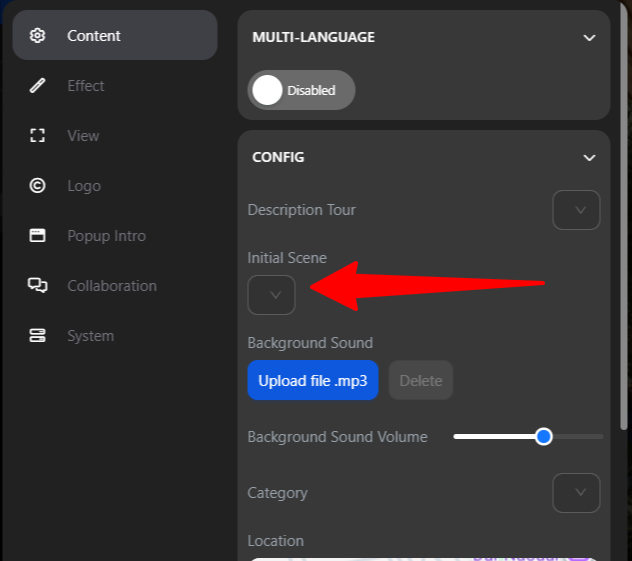
Go to Content > Initial Scene — In the Settings page, find the Content section and click on Initial Scene.
-
Select a Scene — A list of all scenes in your project will appear. Choose the scene you want to set as the default (initial) view.
Notes
-
The initial scene is the first scene viewers see when they open your virtual tour.
-
You can change the initial scene at any time by repeating these steps.
-
Make sure the scene you want as default is fully configured before setting it as the initial scene.