Update Logo
Add or update a logo in Panoee so your virtual tour displays branded identity inside the tour viewer.
The Logo setting lets you show your brand logo inside a Panoee virtual tour. You can enable the logo, upload an image, adjust its size, add a redirect link, and choose where it appears in the viewer.
Steps
-
Open the Project Editor
From your Panoee dashboard, open the virtual tour project you want to edit.
-
Open Setting
In the top toolbar, click the Setting icon.

-
Select Logo
In the left sidebar, click Logo.
-
Enable Logo Setup
In the Logo Setup section, switch the toggle to Enabled.
-
Upload or Replace the Logo
Click Set Image, then choose the logo image you want to use.
-
Adjust the logo settings
Configure how the logo appears in the virtual tour.
Setting Description Width (px) Controls the display width of the logo. Redirect to Adds a clickable link when viewers select the logo. Position Sets where the logo appears in the viewer, such as Top Left, Top Center, or Top Right. 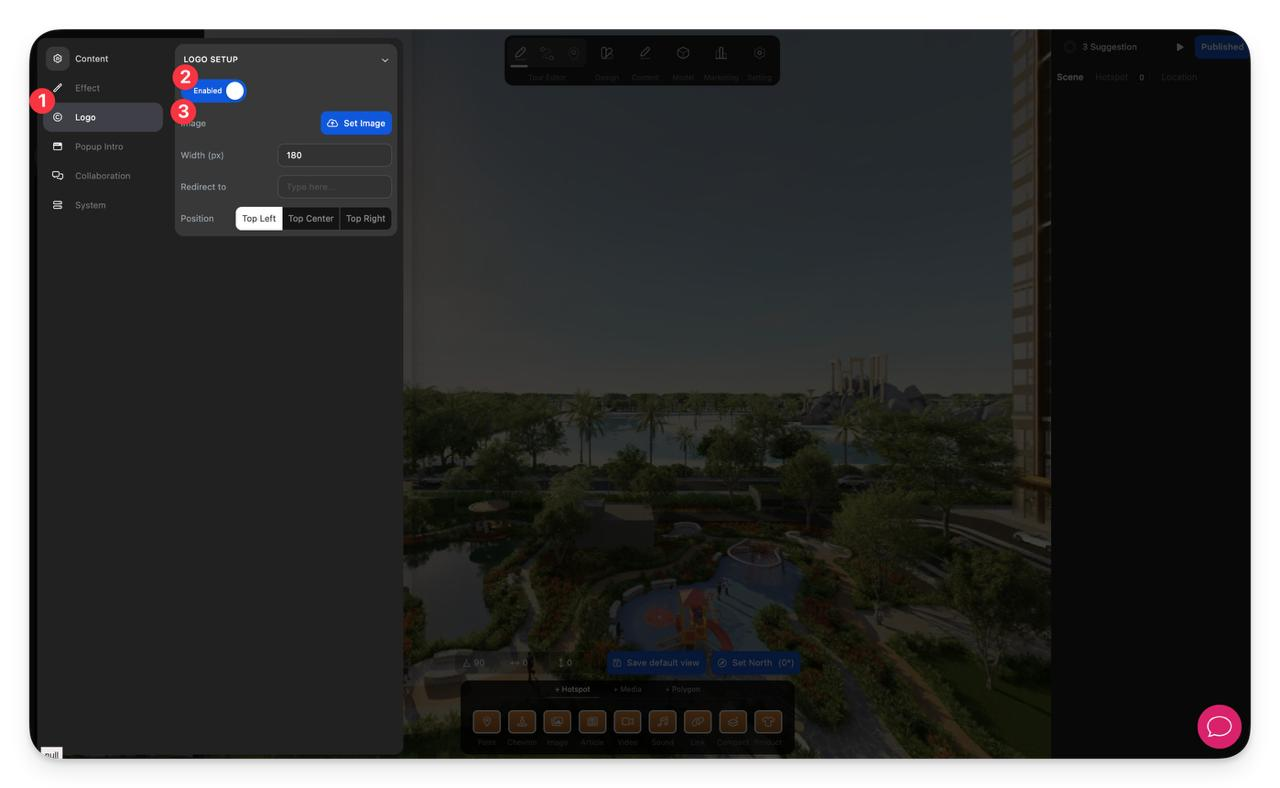
-
Review the result
Check the tour viewer to confirm the logo appears in the correct position and size.
Notes
- Use a transparent PNG logo for the cleanest result.
- Keep the logo width moderate so it does not cover important tour content.
- Add a redirect URL only when you want the logo to open a website or landing page.
- If the logo does not appear as expected, confirm that Logo Setup is enabled and the image upload has completed.